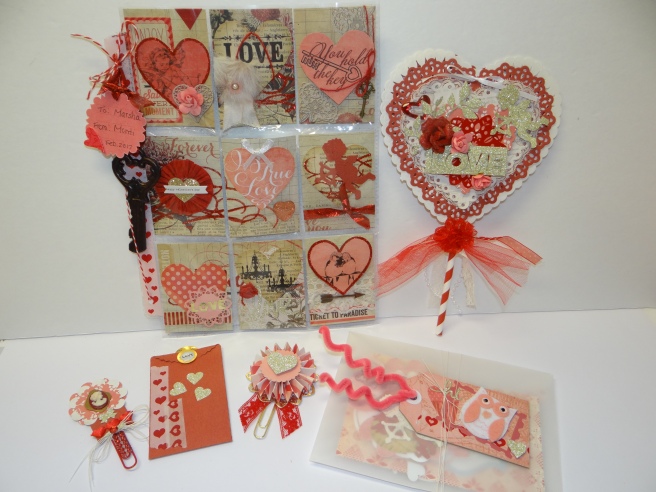
Valentine loaded bag crate paper main squeeze collection

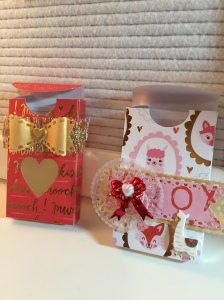
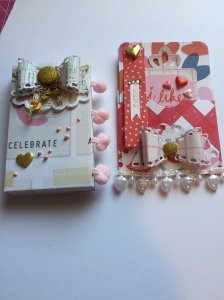
My very first Loaded bag. I used the Valentine themed Main Squeeze paper from Crate Paper. Love the results. Made a bunch of fun things using some new dies from Aliexpress also.

This was a lot of fun to make and you can actually fit quite a bit of items in it for being a tiny bag.

Valentine project share using some new dies from Aliexpress

Making some Valentine projects to send out using some new dies I purchased from Aliexpress. I used the Crate paper Main Squeeze 6×6 paper pad for my projects. This is a super cute little box like a small pack of crayons, I stuck some small goodies in one and some pom pom trim in the other. I believe it would hold a gift card also. The other is a pocket tag die set, I love the thin tag that comes with it.  I will be sharing more soon. Let me know what you think. Thanks for stopping by my channel and come visit me on Youtube also at the same address.  Please subscribe if you haven’t already done so and thanks again for checking out this site.

Baby themed mini album

DSC03049

Love how this baby mini album turned out that I made for my grand daughter. It’s 6×9 with chi board front and back cover bound with binder rings. I made a little bead clip and charm to hang from the top with some ribbon tied on also. I also tied different types and colors of ribbon from the rings. I made a pinwheel wand to decorate the front of the album along with a shaker baby rattle and then spelled the word baby with thicker pink glitter letters and added a strip of patterned paper near the edge of the album.

DSC03051

I made pockets with the patterned paper to hold tags for journaling and a calendar to mark the date of her birth. I used white chipboard letters to spell girl on this page.

DSC03052

The back of the previous page has another pocket with photo spots and journaling tags inside and then a paper pieced elephant and monkeys to decorate the pocket. The opposite page has a file folder style page with a altered paper clip up top with an owl on it and a organza bag hanging from it to save any little memorabilia in. I also made a shaker pocket full of beads and sequins for this page.

DSC03053

The reverse of the previous page has a blank space for photos and a tiny envelope I made using my mini envelope punch board that I can put tiny things in to save like maybe a lock of hair of her first tooth she looses. The opposite page has another pocket trimmed with lace on the bottom and then a die cut stroller with bling and lace adhered to it. Inside the pocket are more photo mats and tags.

DSC03054

The reverse of this page has a another pocket with a sticker some sticker pieces from the paper collection decorating the pocket. I made some more photo mats and tags to go inside this pocket as well. The opposite page is a striped acetate page that I left blank to add photos to or use as decor.

DSC03055


The back page is chipboard covered with the patterned paper from the same line as the front cover piece. I left it blank to add more photos to.

I think this will be a great first year or two album for Rosalind to look back at in later years. It was lots of fun to make and pretty easy to do also.

Hope you enjoyed it. Please stay tuned for future pictures and videos of my projects and subscribe to my channel. Thanks for checking this out.

Spring Flip book

DSC02913

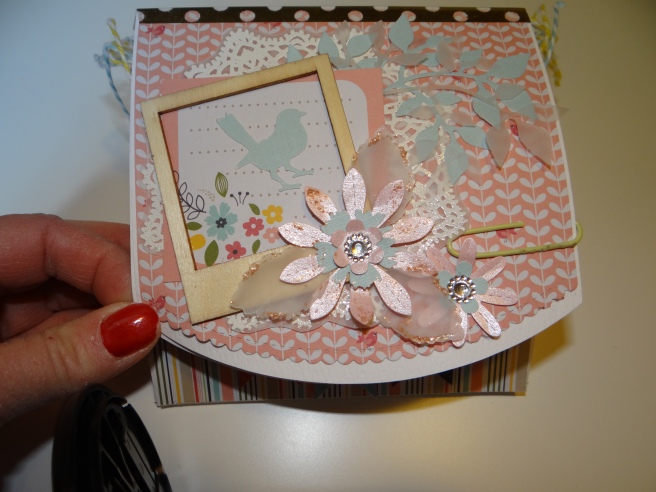
Front cover of the flip book, it was thick so I wrapped bakers twine around for the closure. The base for my book is a card stock CD case. I added lots of die cuts, a wood photo frame, flowers, and gems and doilies.
DSC02916

I used the Welcome Spring paper collection from American Crafts.

DSC02917

Opening the top flap. I have a doily and then a wood arrow I colored with my Copic markers and then added flowers and bling to it. Three flags from the paper collection are affixed on the bottom flap with a few tiny flowers added on top.

DSC02919

Bottom and top flap opened to show the two small flaps that open to the sides. Each side id covered with a piece of patterned paper and then I added a vellum doily on top of that. Then I created two matching tags to layer on each side. The tags have twinewith  tied on top and are layered with flowers, small doilies and bling. The bottom flap has an envelope I made to put some goodies inside for the recipient and then taped closed with some washi tape.

DSC02920

A close up of the tags.

DSC02918

The other bottom flap has a die cut swan on it and then the other flap has another cute envelope I made using the paper collection that houses more goodies. I have washi tape on all the seams even though this one was piece of paper to begin with so I didn’t need it to hold the flaps together, it was just for decoration.

DSC02921

The inside base has a paper piece from the collection that I added some embellishments to. The inside of each of the side flaps I covered with some patterned paper and scalloped the edges and then layered some ribbon and paper pieces from the collection and stapled on wiith my mini stapler from Tim Holtz. I finished them off with a wood piece.

DSC02922

The next top flap has a piece from the collection that I taped down on the sides and then cut a little piece down the middle and folded back so you can reach in and get the note out to read. I used turquoise mini glittered letters to spell the word note. The top of that page has a vellum envelope I created with my We R Memory Keepers envelope punch board. I added some embellishments inside and then put a small die cut bow for the closure. I adhered that with a paper clip banner that I made.

DSC02924

A close look at he bottom front flap.

A fun project to make that you can customize for any occasion.